Simple Fabric Punch Ruffle Wreath
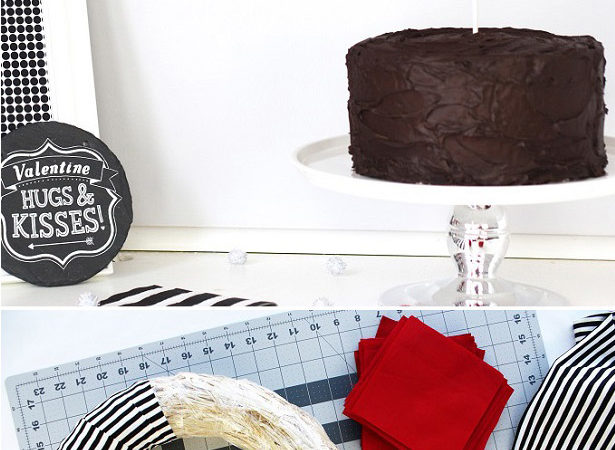
Love a ruffle? Me too! Spruce up your home this Valentine’s Day with my easy tutorial for a punch ruffle wreath. Or swap out the colors and decorate for spring. This ruffle wreath would look adorable with cute little bunnies hopping across the left side! (hmmm…. don’t be surprised if you see that version of this wreath …