camp party: DIY award medals
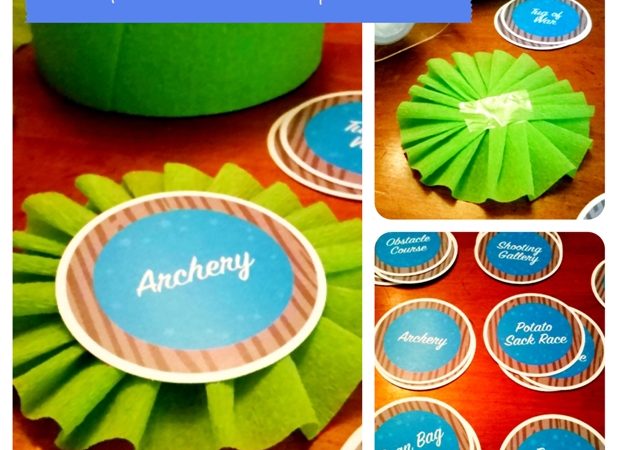
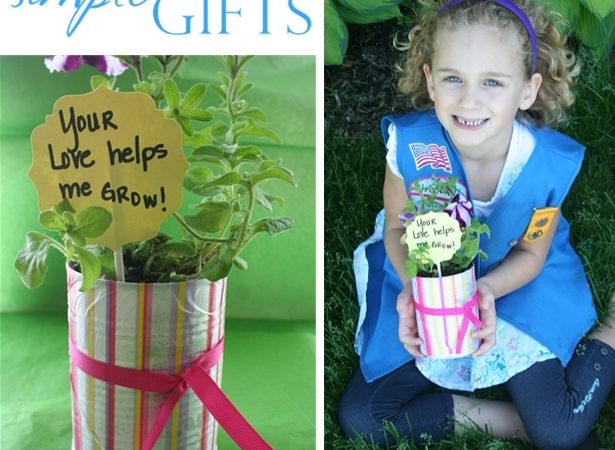
Pics taken with my iPhone and Camera+ app. Collage made with the PicFrame app. [pinit count=”vertical” url=”https://thecelebrationshoppe.com/2012/06/25/camp-party-diy-award-metals/” image_url=”https://thecelebrationshoppe.com/2012/06/25/camp-party-diy-award-metals/day-23-crafting-camp-cole-sm-2/” description=”DIY field day camp award medals from blog.thecelebrationshoppe.com” float=”right”] This Friday is the big “CAMP COLE” birthday party for my little guy and we’re planning a ton of Field Day type activities. (Part I of the party, Part II …