How To Monogram Pajamas With Cricut Maker – VIDEO
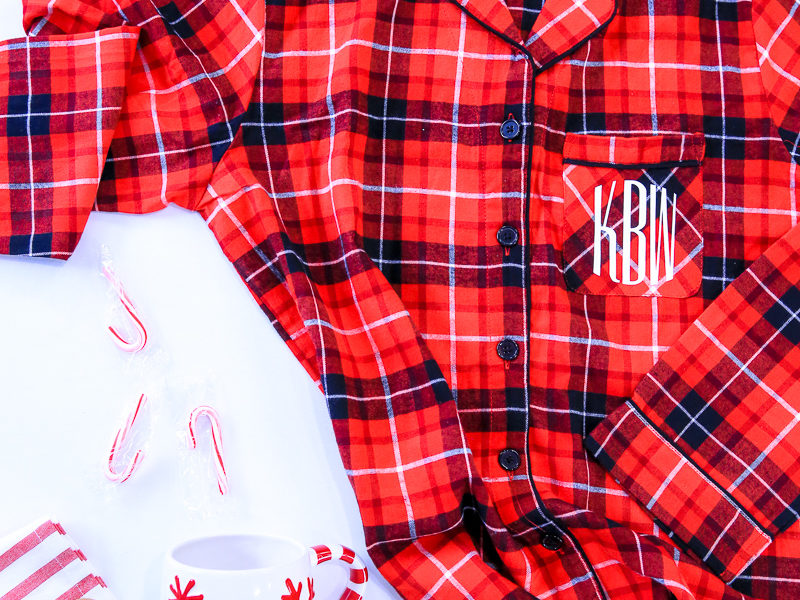
Let’s monogram pajamas for Christmas (and all the days) with our Cricut Maker and EasyPress! It’s as easy as 10 minutes in the craft room and as perfect as those darling coordinated Christmas morning pictures! I picked our family pajamas up at Target this year. They had some really fun ones, like elves and Santa, …