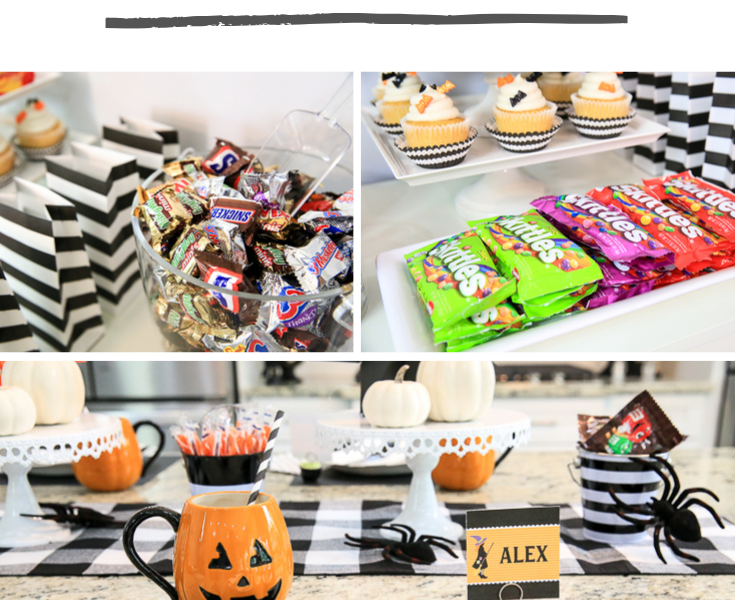
Halloween Candy Trick or Treat Bags + FREE Gift Tags
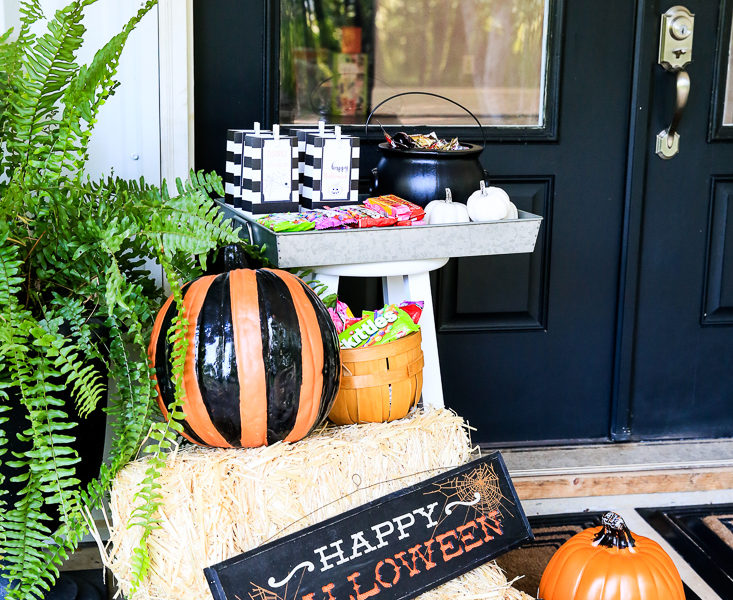
This shop has been compensated by Collective Bias, Inc. and its advertiser, Mars Wrigley Confectionery US, LLC. All opinions are mine alone. #FlauntYourHaunt #MyTrickorTreatBags I have fun trick or treat bags, perfect for handing out all of your Halloween candy, complete with FREE printable gift tags to dress them up! With SKITTLES® Candy & STARBURST® Fruit Chews Variety …