Pumpkin Spice Donut Treat Bags With Cricut
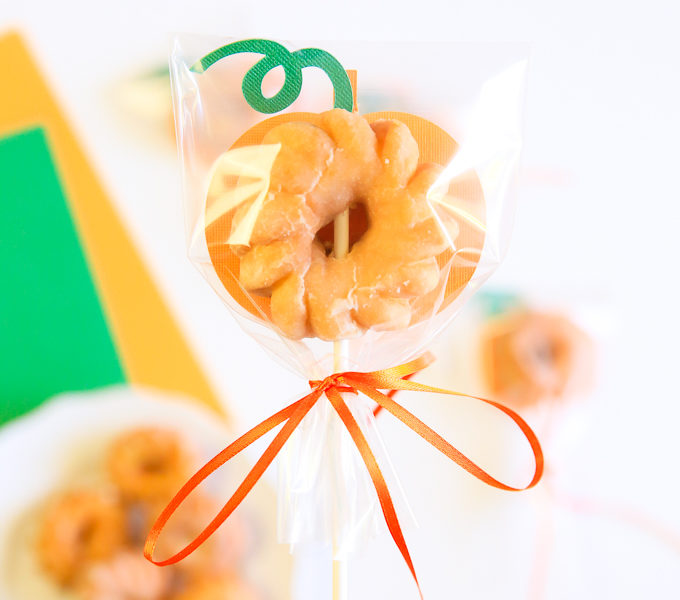
Does it get any better than a pumpkin spice donut?! Well, yes, actually it does when you decorate it in these darling DIY donut treat bags! Grab your favorite bakery donut (or bake them if you have the time) and let me show you how to make them in minutes! Supplies To Make Pumpkin Donut …