Black & White Halloween Party + FREE Witch Placecards
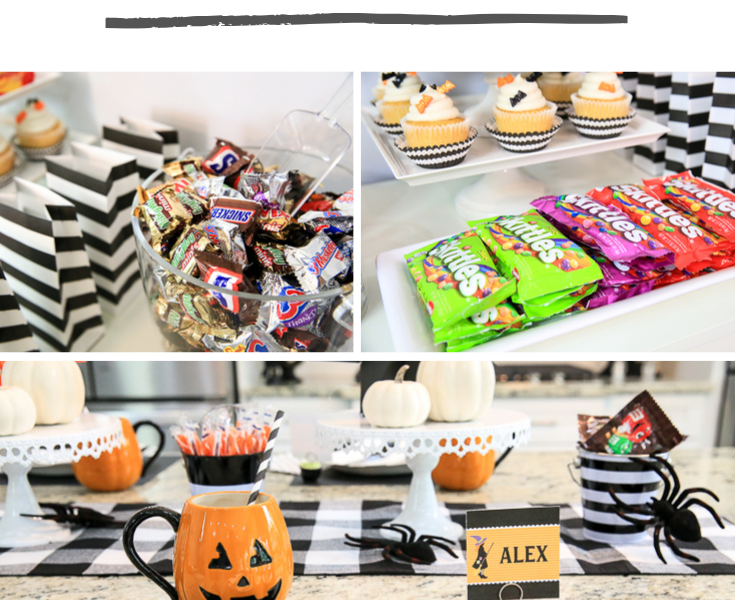
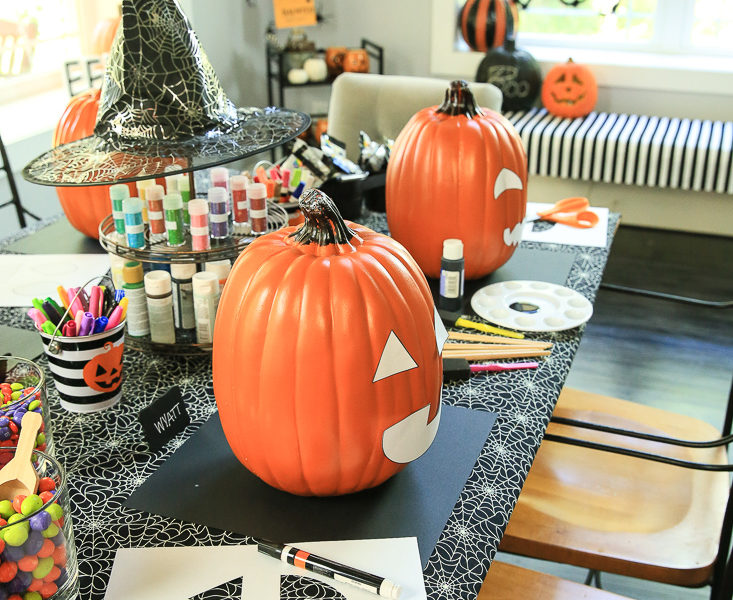
This shop has been compensated by Collective Bias, Inc. and its advertiser, Mars Wrigley Confectionery US, LLC. All opinions are mine alone. #FlauntYourHaunt #MarsHalloweenPartySetup Halloween parties are an annual tradition at my house and each year I try to switch things up a bit. This year, my decor will be mostly black and white, with …