Magical Unicorn Party Ideas
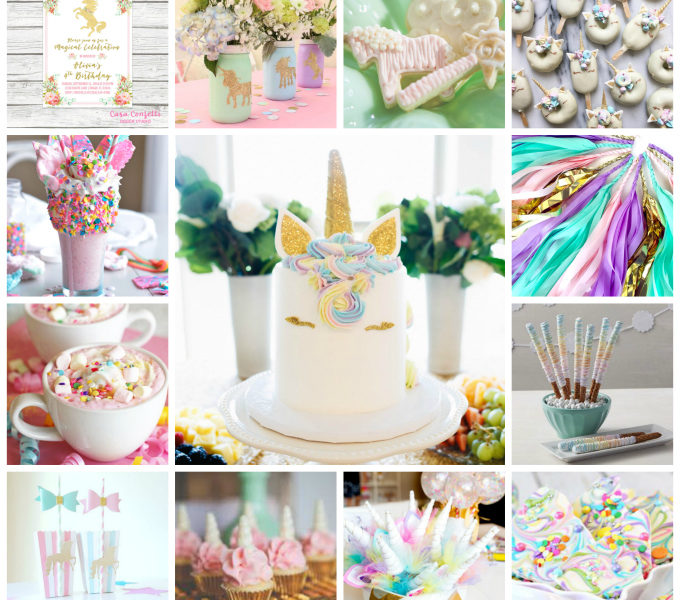
I believe in unicorns, don’t you? {wink} These magical creatures are perfect for daydreams filled with fairy dust and rainbows, and pretty little birthday parties! I’ve collected some of the most darling and enchanting ideas for a magical unicorn party! Every party starts with the invitation. I personally love sending and getting paper invitations in …