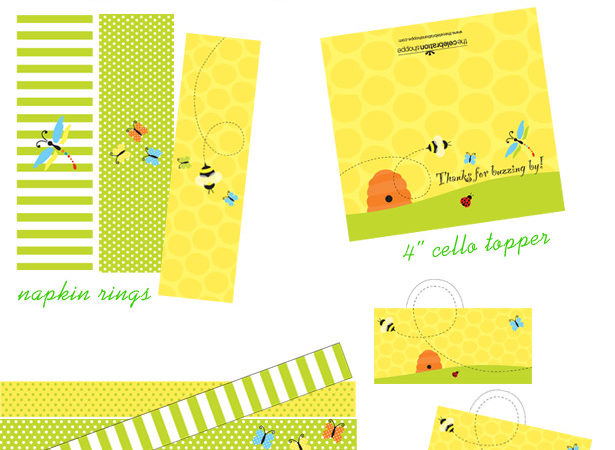
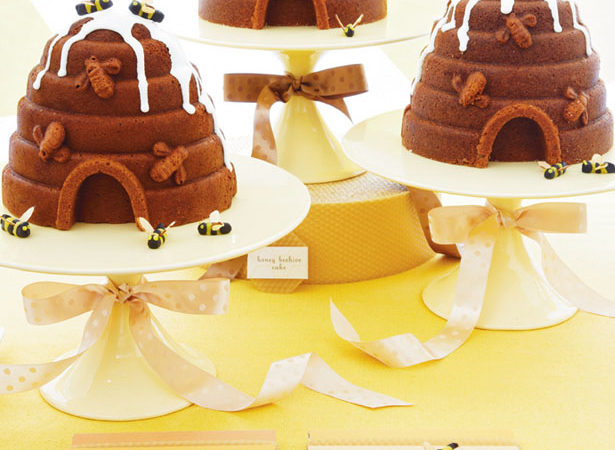
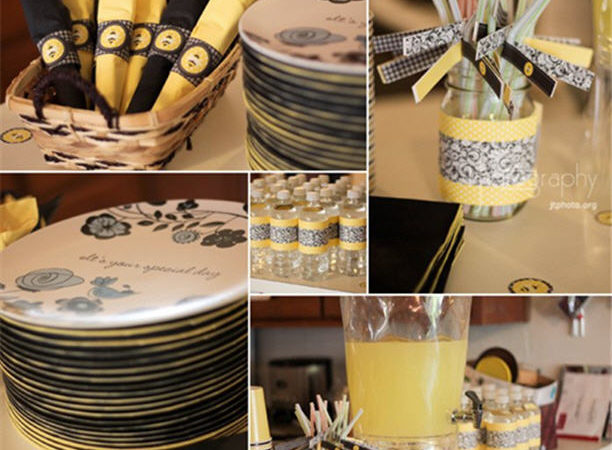
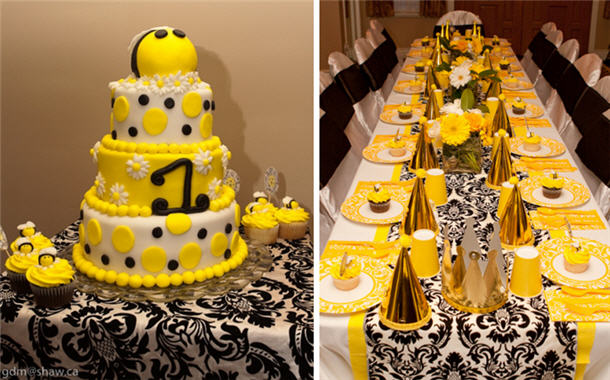
Beehive Hexagon Cupcake Toppers
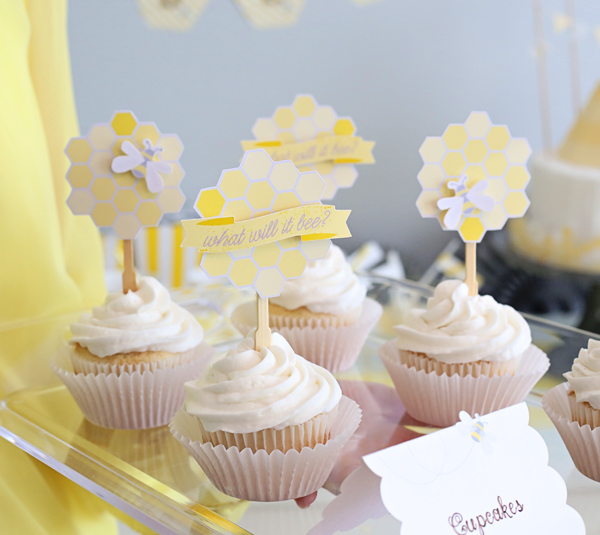
Beehive hexagon cupcake toppers will make your baby shower! They’re so darling and so easy to make with my Bee Baby Shower Cricut cartridge. Make sure you pop over to the full baby shower, a lovely yellow and gray gender reveal, What Will It Bee?! Now let’s make my easy beehive cupcake toppers with a …