cotton candy {treats}
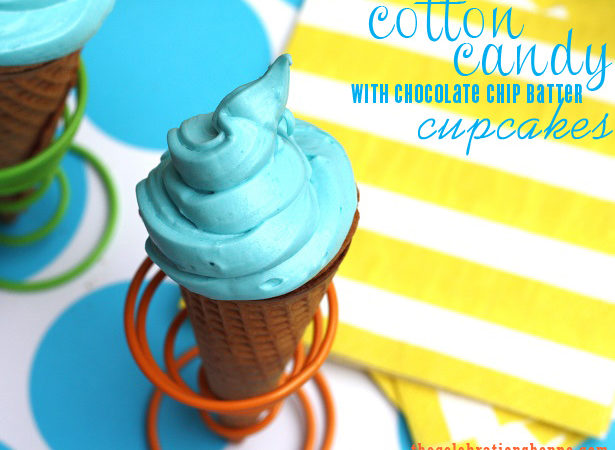
My boys always beg for cotton candy and honestly it’s one of those treats that I try to avoid because the bags are too big and the sugar rush is even bigger! So in the baking isle I spied the Duncan Hines Frosting Creations icing. All the cotton candy taste… in small portions… so I decided to give …