rock star guitar placecard craft

guitarplacecardThe Rock Star birthday party theme is so very popular right now so we thought we would create a fun placecard craft for your table. These would also be a great way to tag your goody gifts.

Here’s what you’ll need:

For these fun electric guitar placecards, simply cut out your craft paper using the template, assemble with craft glue, draw on accessories and write your guests name. Wow… that was easy!

Happy celebrating!

you may also like:

guitar and music note cookies

guitarnotecuttersWe’ve just added some really cute cookie cutters to our “rock star” birthday party theme. Don’t you just love the flames! You can find guitar, musical notes and star cookie cutters with all of our other “rock star” decor.

As for recreating these fun cookies, here are a few tips on flooding. It’s really quite simple. Give it a whirl.

Icing – First of all, you have to have the right type of icing: royal icing. Don’t let the name scare you, it’s just one pound of confectioner’s sugar, five tablespoons of meringue powder, a half cup of water (or less) and gel-paste food coloring (available at most bakery and craft stores; the food coloring in grocery stores is usually very watery taking more of it to achieve the color you want). You’ll need to mix the icing until it’s fluffy, yet dense, about seven to eight minutes. Then you’ll need to use the icing immediately or transfer it to an airtight container.

Coloring – Separate your icing into the number of colors you need for your project. Then color your icing one drop of gel at a time. It’s a lot stronger than you might think. Once all the icing is the colors you need, separate them again so that you can thin one half for flooding. With your second set, thin each color with one teaspoon of water at a time. Often, one teaspoon is all it takes depending on how many times you’ve separated your icing. Now you have thick and thin versions of all the colors you need.

Tools – Trim one corner of a resealable bag and insert a #3 icing tip with a connector. Repeat this process for each of your colors (thin and thick). Then spoon each into a bag. (I always mark the thin bags so I don’t accidentally ruin a cookie by trying to trim it with the thin icing.)

Flooding technique – Now that your icing is prepped, take a cooled sugar cookie and pipe an outline around the shape. Allow it to set for 10 to 15 seconds and then you can flood the cookie with the thinner version of the color. While the flooded color is still wet pull it to the edges of the outline with a toothpick. You can even add a different thinned color to make polka dots or other designs. Doing it quickly will allow the second color to settle into the flooded color and dry flat. Allow the flooded colors to set for several minutes before adding any additional piping or layers to your design (like the flames). 

 Happy baking everyone!

you may also like:

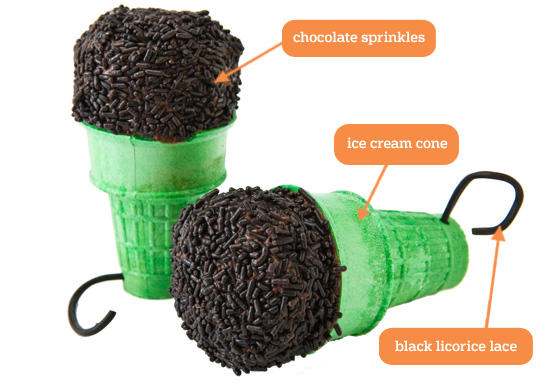
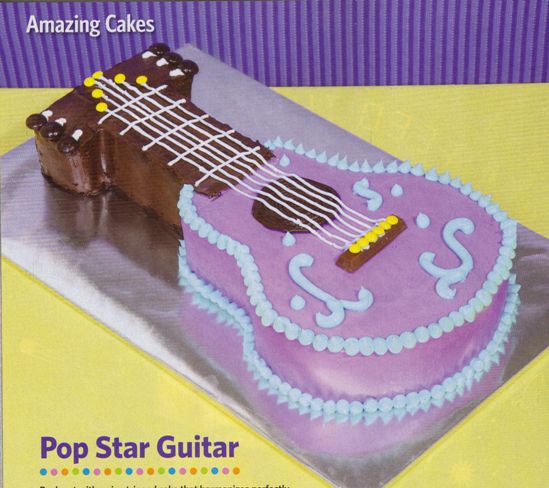
introducing “rock star”

music-front-image-web
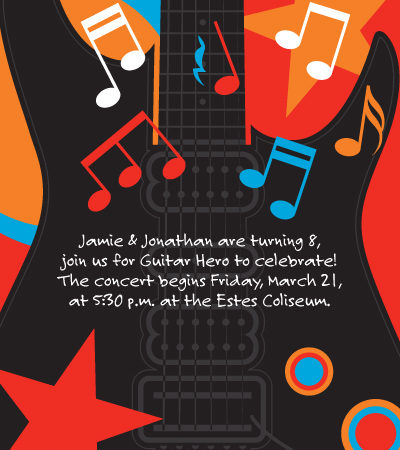
If you have a rock star, or even just a Guitar Hero, Hannah Montana or American Idol fan, living in your house, this birthday party theme is a must have! And in addition to our oh so creative “rock star” custom invitation, check out the cool party décor to complement: plates, napkins, cookie cutters and a fun guitar shaped mylar balloon too.

Make sure and visit again as we’ll be adding a number of fun favor and baking ideas over the coming weeks. See what we have so in our archives under pop star/rock n’ roll.

As always we would love your feedback on this invitation design as well as any of our others.

Plus, if you have a theme design you’re searching for and can’t find, we want to know that too! You can e-mail us at ideas@celebrationshoppe.com or post a comment here.

you may also like:

microphone rock star cake

micphonebirthdaycakeToday we’re launching our new “rock star” birthday party theme complete with cool and creative décor (that would be perfect for any American Idol party). In honor of this new custom invitation, check out this fun microphone birthday party cake. I have to say, parenting.com did an exceptional job with creating a series of super fun birthday cakes!

Here’s what you’ll need for this one:

  • 12 colored ice cream cones
  • 1 large bag jelly beans, M&M’s, or other preferred small candies
  • 1 can (12 oz) whipped chocolate frosting
  • 12 baked cupcakes, paper liners removed
  • 1 ½ cups chocolate sprinkles
  • 12 (3-inch) lengths of black licorice laces

Check out parenting.com for the how to! Happy baking.

you may also like:

pop star guitar cake

guitarcake_ff1I’m planning a major baking session this weekend and was scouting around for inspiration when I came across this pop star guitar cake from Family Fun Magazine. (They give the original idea credit to Christina K. of Fort Worth, TX; Great idea Christina!)  This is simply too cool if your birthday kid is into Rock n’Roll or even Hanna Montana. And it goes perfectly with out “rock star” invitation and party decor! 

Here’s what you’ll need:

  • Guitar template
  • 19 x 13″ cake pan
  • Red, blue and neon blue food coloring
  • 2 ½ cups vanilla icing
  • 1 cup dark chocolate icing
  • 3 pastry bags, with 1 small round tip and 1 medium round tip
  • 1 Kit Kat
  • 6 brown M&Ms and 12 yellow M&M Mini’s

And here are all the easy steps:

  1. Cut the cake using the template and assemble.
  2. Make purple frosting by stirring 12 drops of red food coloring and 8 drops of blue into 1 1/4 cups of vanilla frosting. Spread the frosting over the guitar body.
  3. Lightly press a medium-size drinking glass into the frosting to mark the sound hole. Spoon 1/2 cup of the chocolate frosting into a pastry bag with a small round tip. Pipe frosting to fill in the circle. Use the rest of the chocolate frosting to cover the guitar neck and head as shown.
  4. Place one section of the Kit Kat about 2 1/2 inches below the sound hole. Spoon 1/4 cup of vanilla frosting into a pastry bag. Use the small round tip again to pipe on lines for frets and strings, then place the yellow M&M’s Minis as shown.
  5. For tuning pegs, put three brown M&M’s on each side of the head of the guitar, then pipe vanilla-frosting pegs leading to them.
  6. Stir 12 drops of neon blue food coloring into the remaining vanilla frosting. Spoon the frosting into a pastry bag fitted with the medium round tip. Pipe on dots and curlicues as shown.

And for those of you who love this idea, we’re in the process of developing a fun new Rock n’ Roll themed invitation and thank you card so make sure and check back with us in about two weeks. Happy baking.

you may also like: