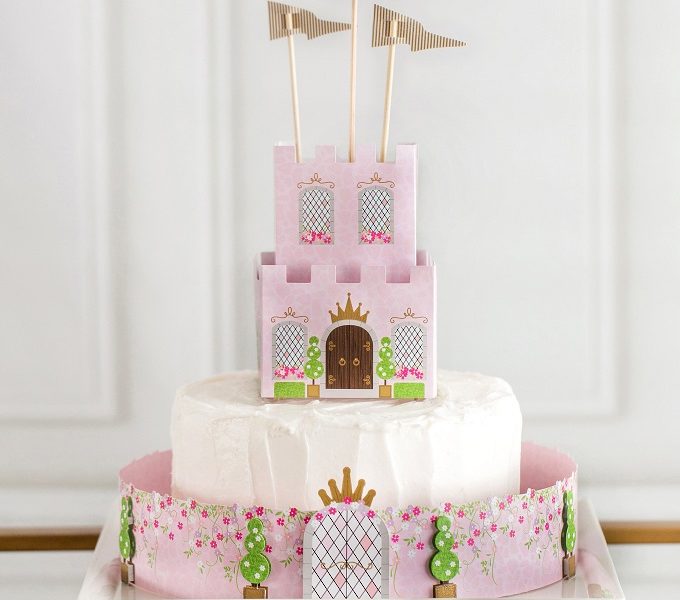
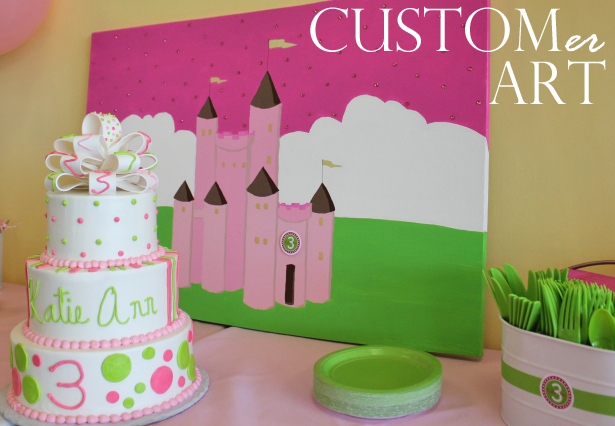
Princess Party In Pink, Gold and Glitter
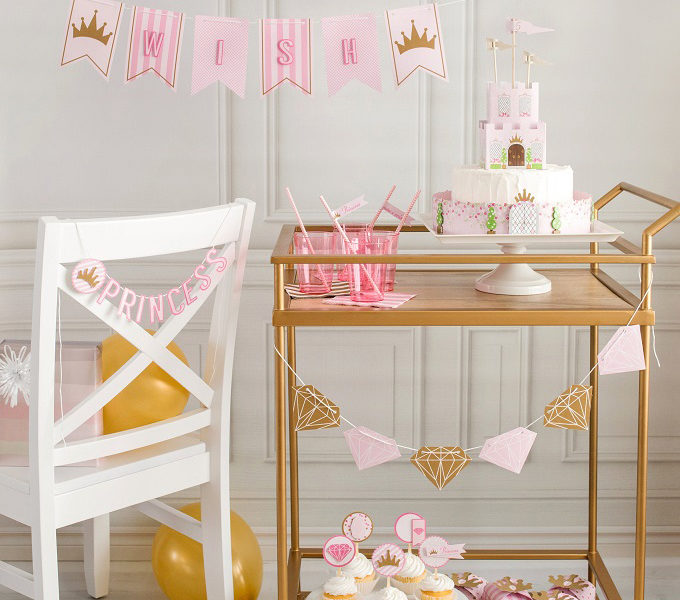
Every little girl needs at least one princess party in her life! As part of my new paper line of crafts with Darice I designed a perfectly pink and gold princess party collection full of crowns, diamonds and glitter! I’m particularly proud of the princess castle cake topper. It’s easy to assemble and can make …