Free Printable Flip Flop Treat Bags & Blasted M&M Rice Krispies Treats
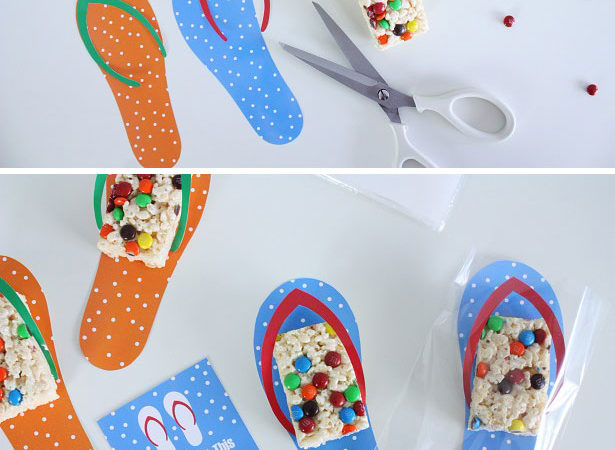
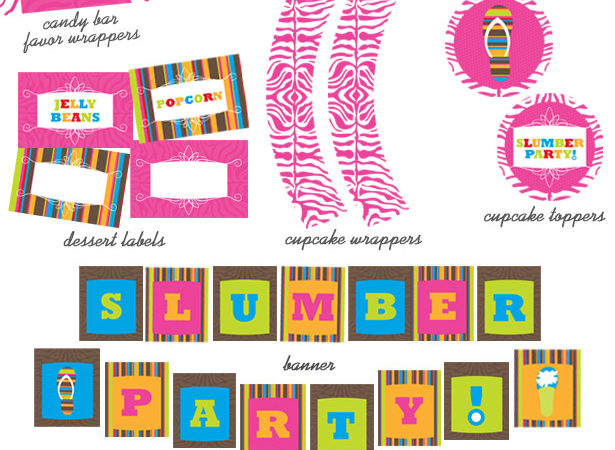
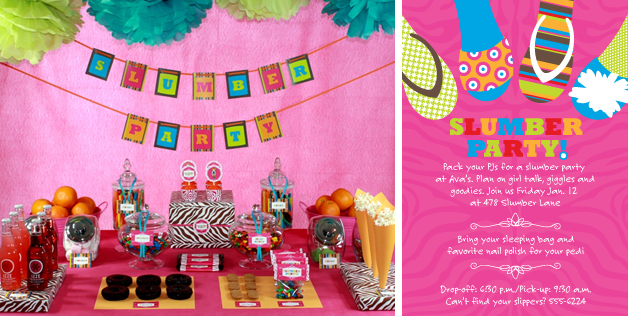
Rice Krispies Treats are a favorite in this house. Blast them with M&Ms and doll them up with a cute free printable flip flop treat bag… and you have a simple and fun favors for any pool party or slumber party! If you’re hosting a slumber party, make sure you hop over to my shop …