personalized placemats
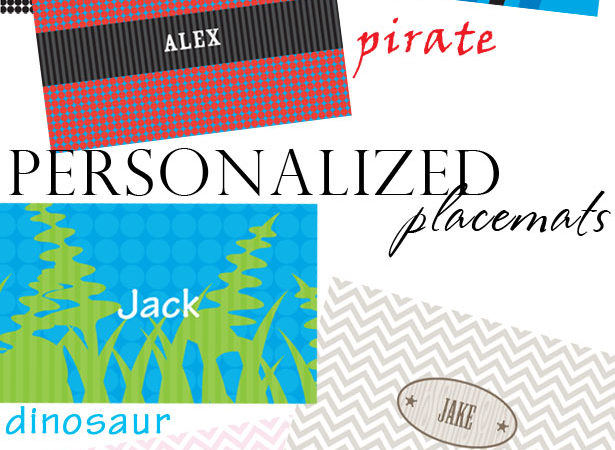
We’re adding a few new things to the shoppe! Personalized placemats are now available for the following collections (but we can make them for any of the 50+ collections we offer, just e-mail us at [email protected] with any questions): pirate ship and pirate skull, dinosaur, and cowgirl birthday and baby shower. As always, I hope …